

I've been really antsy waiting for these I ordered them on Dec 23 and received them today Jan 15th. Word to the unwise, expect orders that take 2 weeks to take longer over the holiday season ;)
The wall decals I purchased were for the living room
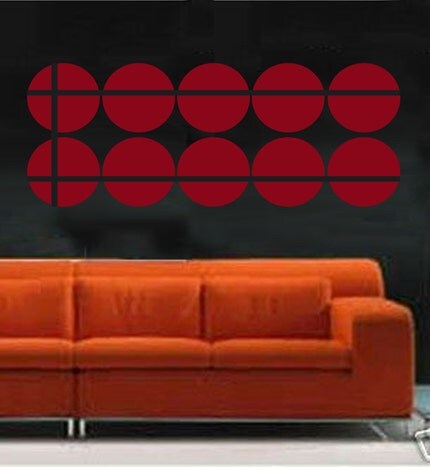
Circles Intersected
and for the "impending baby" Butterflies In Flight

In my over eagerness and sheer excitement at getting these (which I have been waiting to purchase since I saw her as a featured seller) I neglected the instructions for Circles Intersected of which I basically ended up following anyways because the I found the overall packaged design very intuitive.Also it mentions an included squeegee which I didn't get but it would have been an unnecessary waste to begin with, in addition to that I ended up doing it by myself, although the instructions say it should be done with two people, which was still really easy to do. However I will have to follow instructions and enlist the aid of my husband to place the Butterflies In Flight decal because it does not have the clear transfer paper.
On to the Installation of Circles Intersected
The first thing I did was decide to change the way I wanted the design to go up as I wanted to have Circles Intersected to be intersected by to be finished yet unfinished painting, and I also decided to use the bottom section upside down. So the first thing I did was cut the sheet in half separating the top portion from the bottom. Next I whipped out my level and straightened out the the picture to use as a reference as it is exactly centered. Then I placed the whole sheet against the wall and peeled the corners getting the sticky clear transfer paper, with the decals firmly adhered to it, on the wall. Holding it firm I then peeled or slipped out the white backing.

After that was complete I ran my hand over the clear transfer paper and decals which were securely on the wall. Next I slowly and gently removed the clear transfer paper making sure the decals stay stuck to the wall.

After the clear sticky transfer paper was removed I smoothed out the decals and much to my delight smoothing out the bubbles was easy. Then I repeated the process for the top section the whole process took me about 30 minutes and this is how it turned out! =D

These decals as well as many other designs can be purchased at http://Shanon1972.Etsy.com
2 comments:
Those are cool! Love the butterflies.
I need to get a pic of the butterflies I ordered up they are different colors from the example depicted.
Post a Comment